When people think of Hawaii, they typically think of black sand beaches and lava. But tucked in the Haleakala National Park on Maui are some truly amazing backpacking trails. Back in February, I had the chance to spend some time on these trails. I’ll tell you a little about the trip and some logistics on how to backpack in Haleakala on a budget.

The Trip
We flew to Kahului Airport and immediately made our way to the town of Kula using public transportation. For the first night of camping, we had a campsite in the front country campground, Hosmer Grove within the park boundary. In order to get there, we had to hitchhike from Kula to Haleakala National Park. Hitchhiking is generally easy and safe for backpackers heading to most National Parks and Hawaii’s were no exception. We did this to avoid a rental car which can be at least $100 per day. Since we would be backpacking for several days, we did not want to just have an expensive car sitting at the trailhead.
Day 1 – Hasmer Grove to Paliku – 12 miles
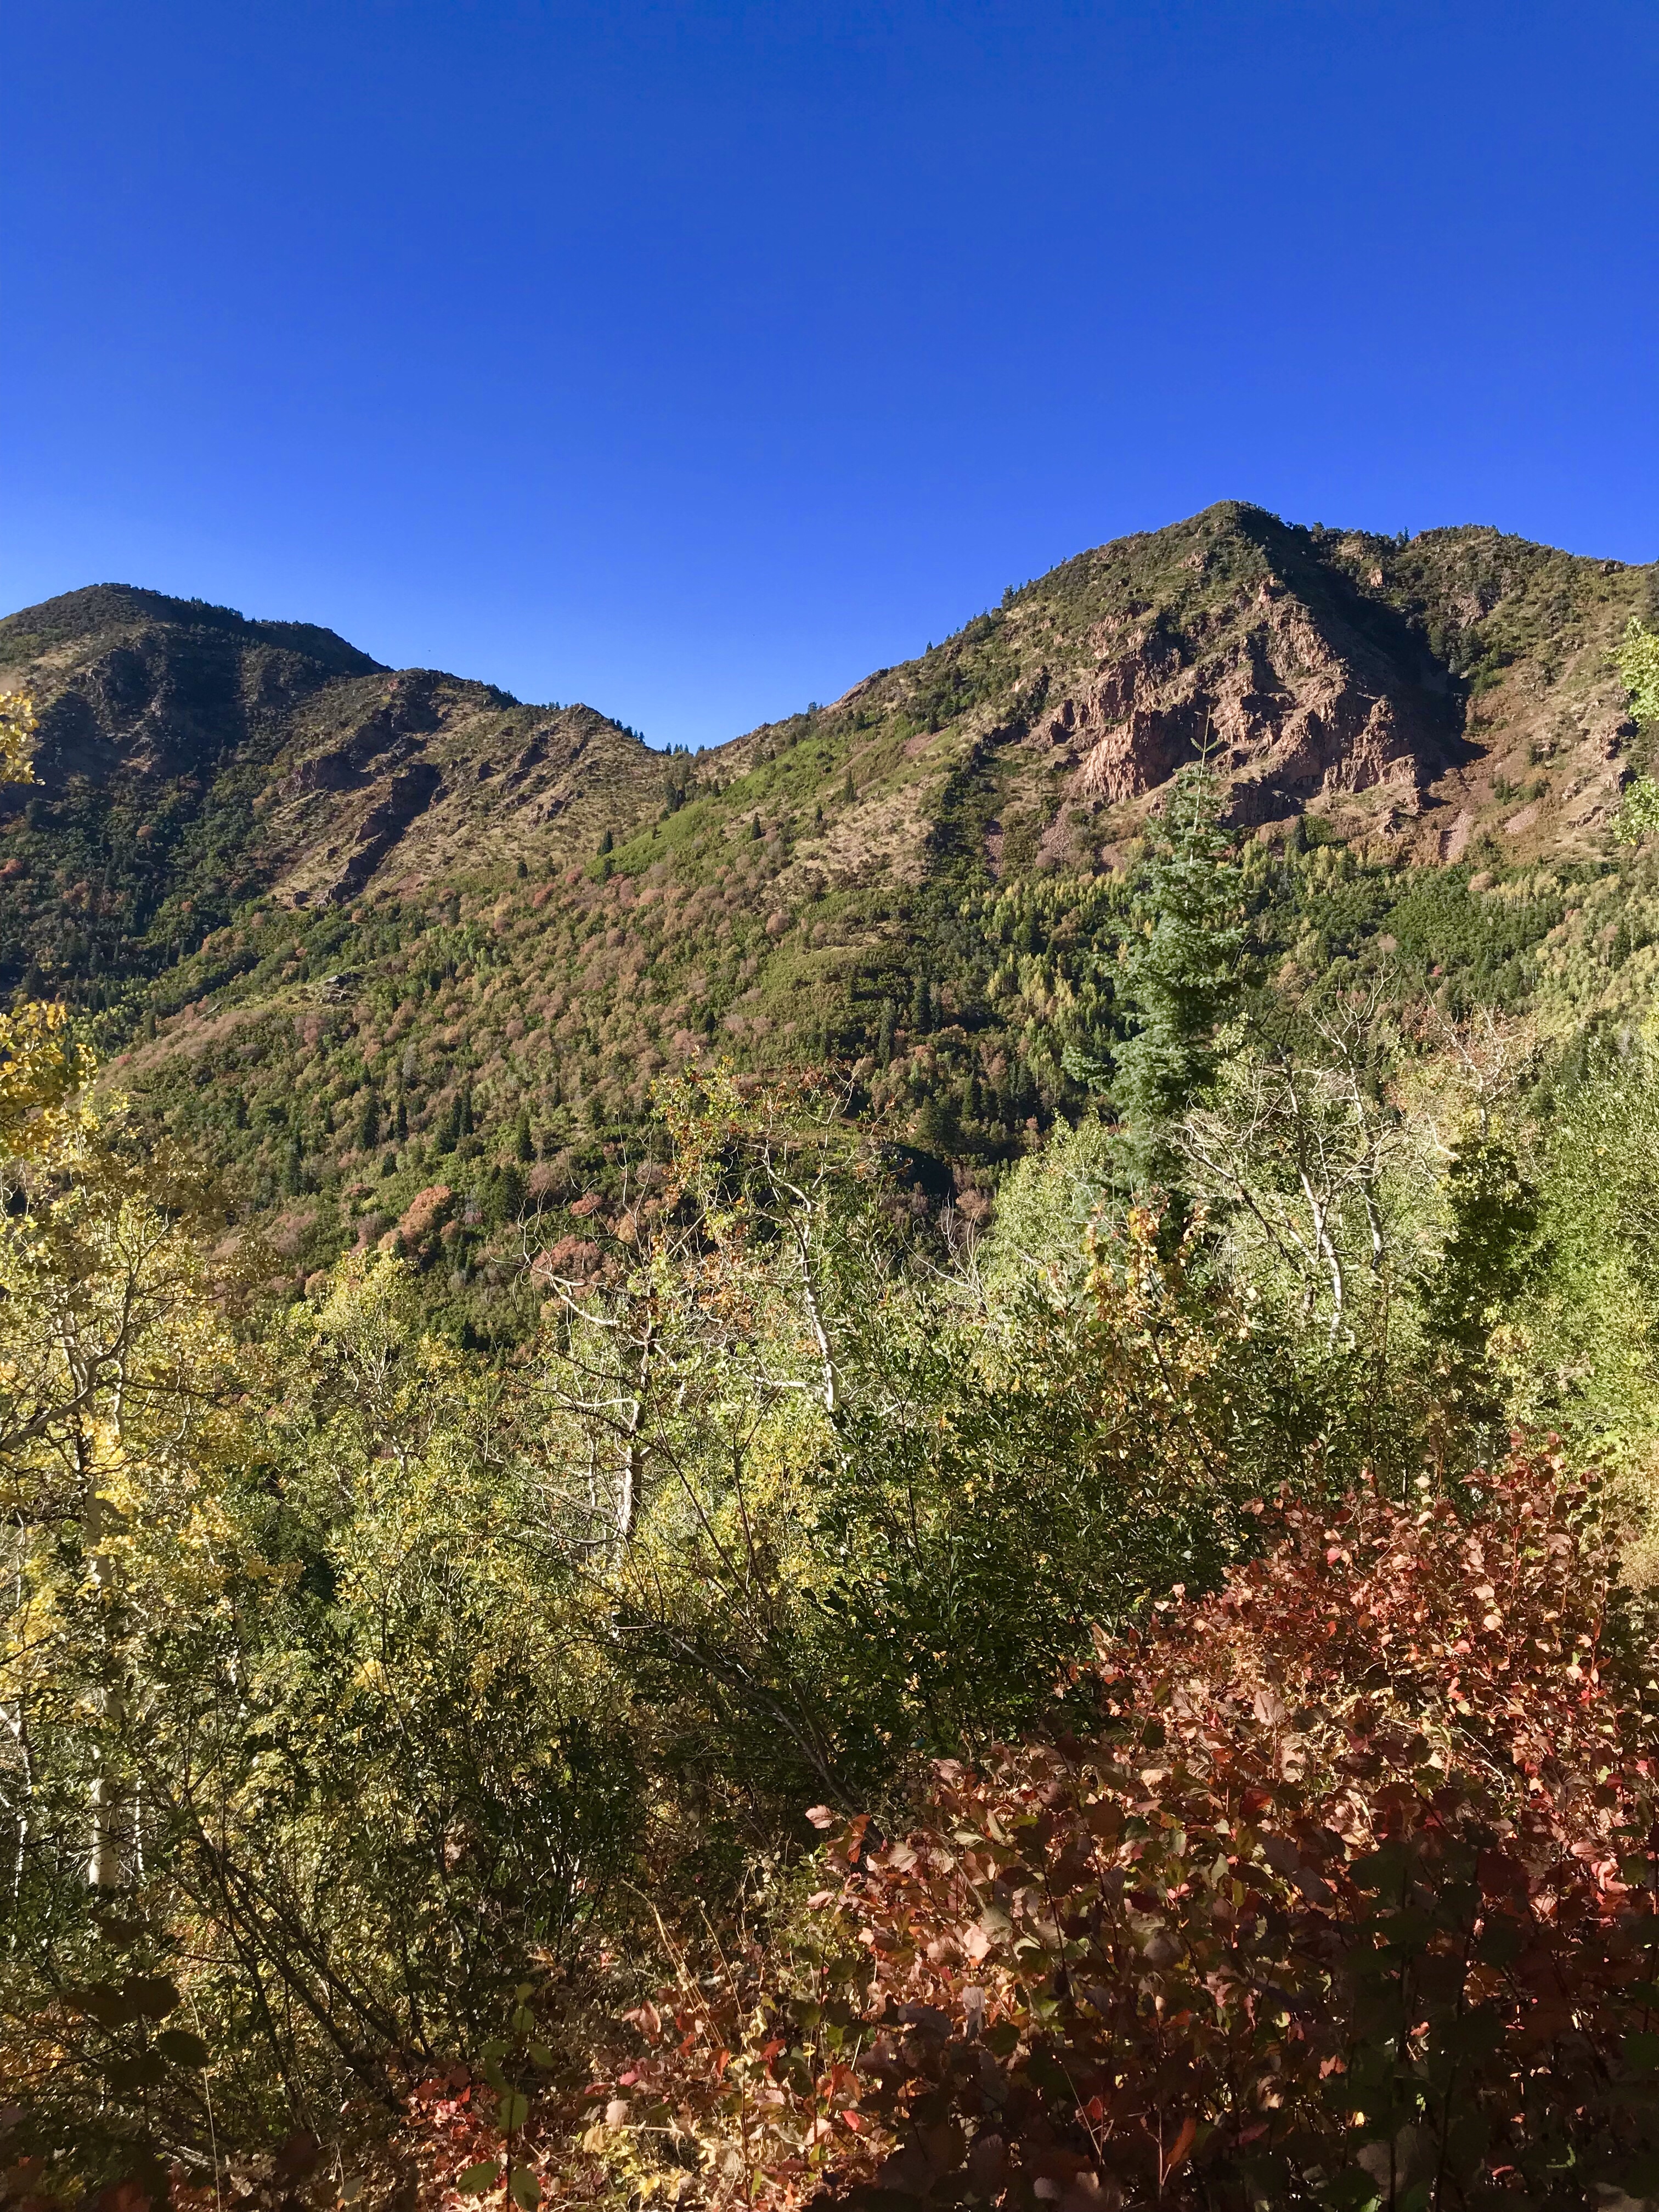
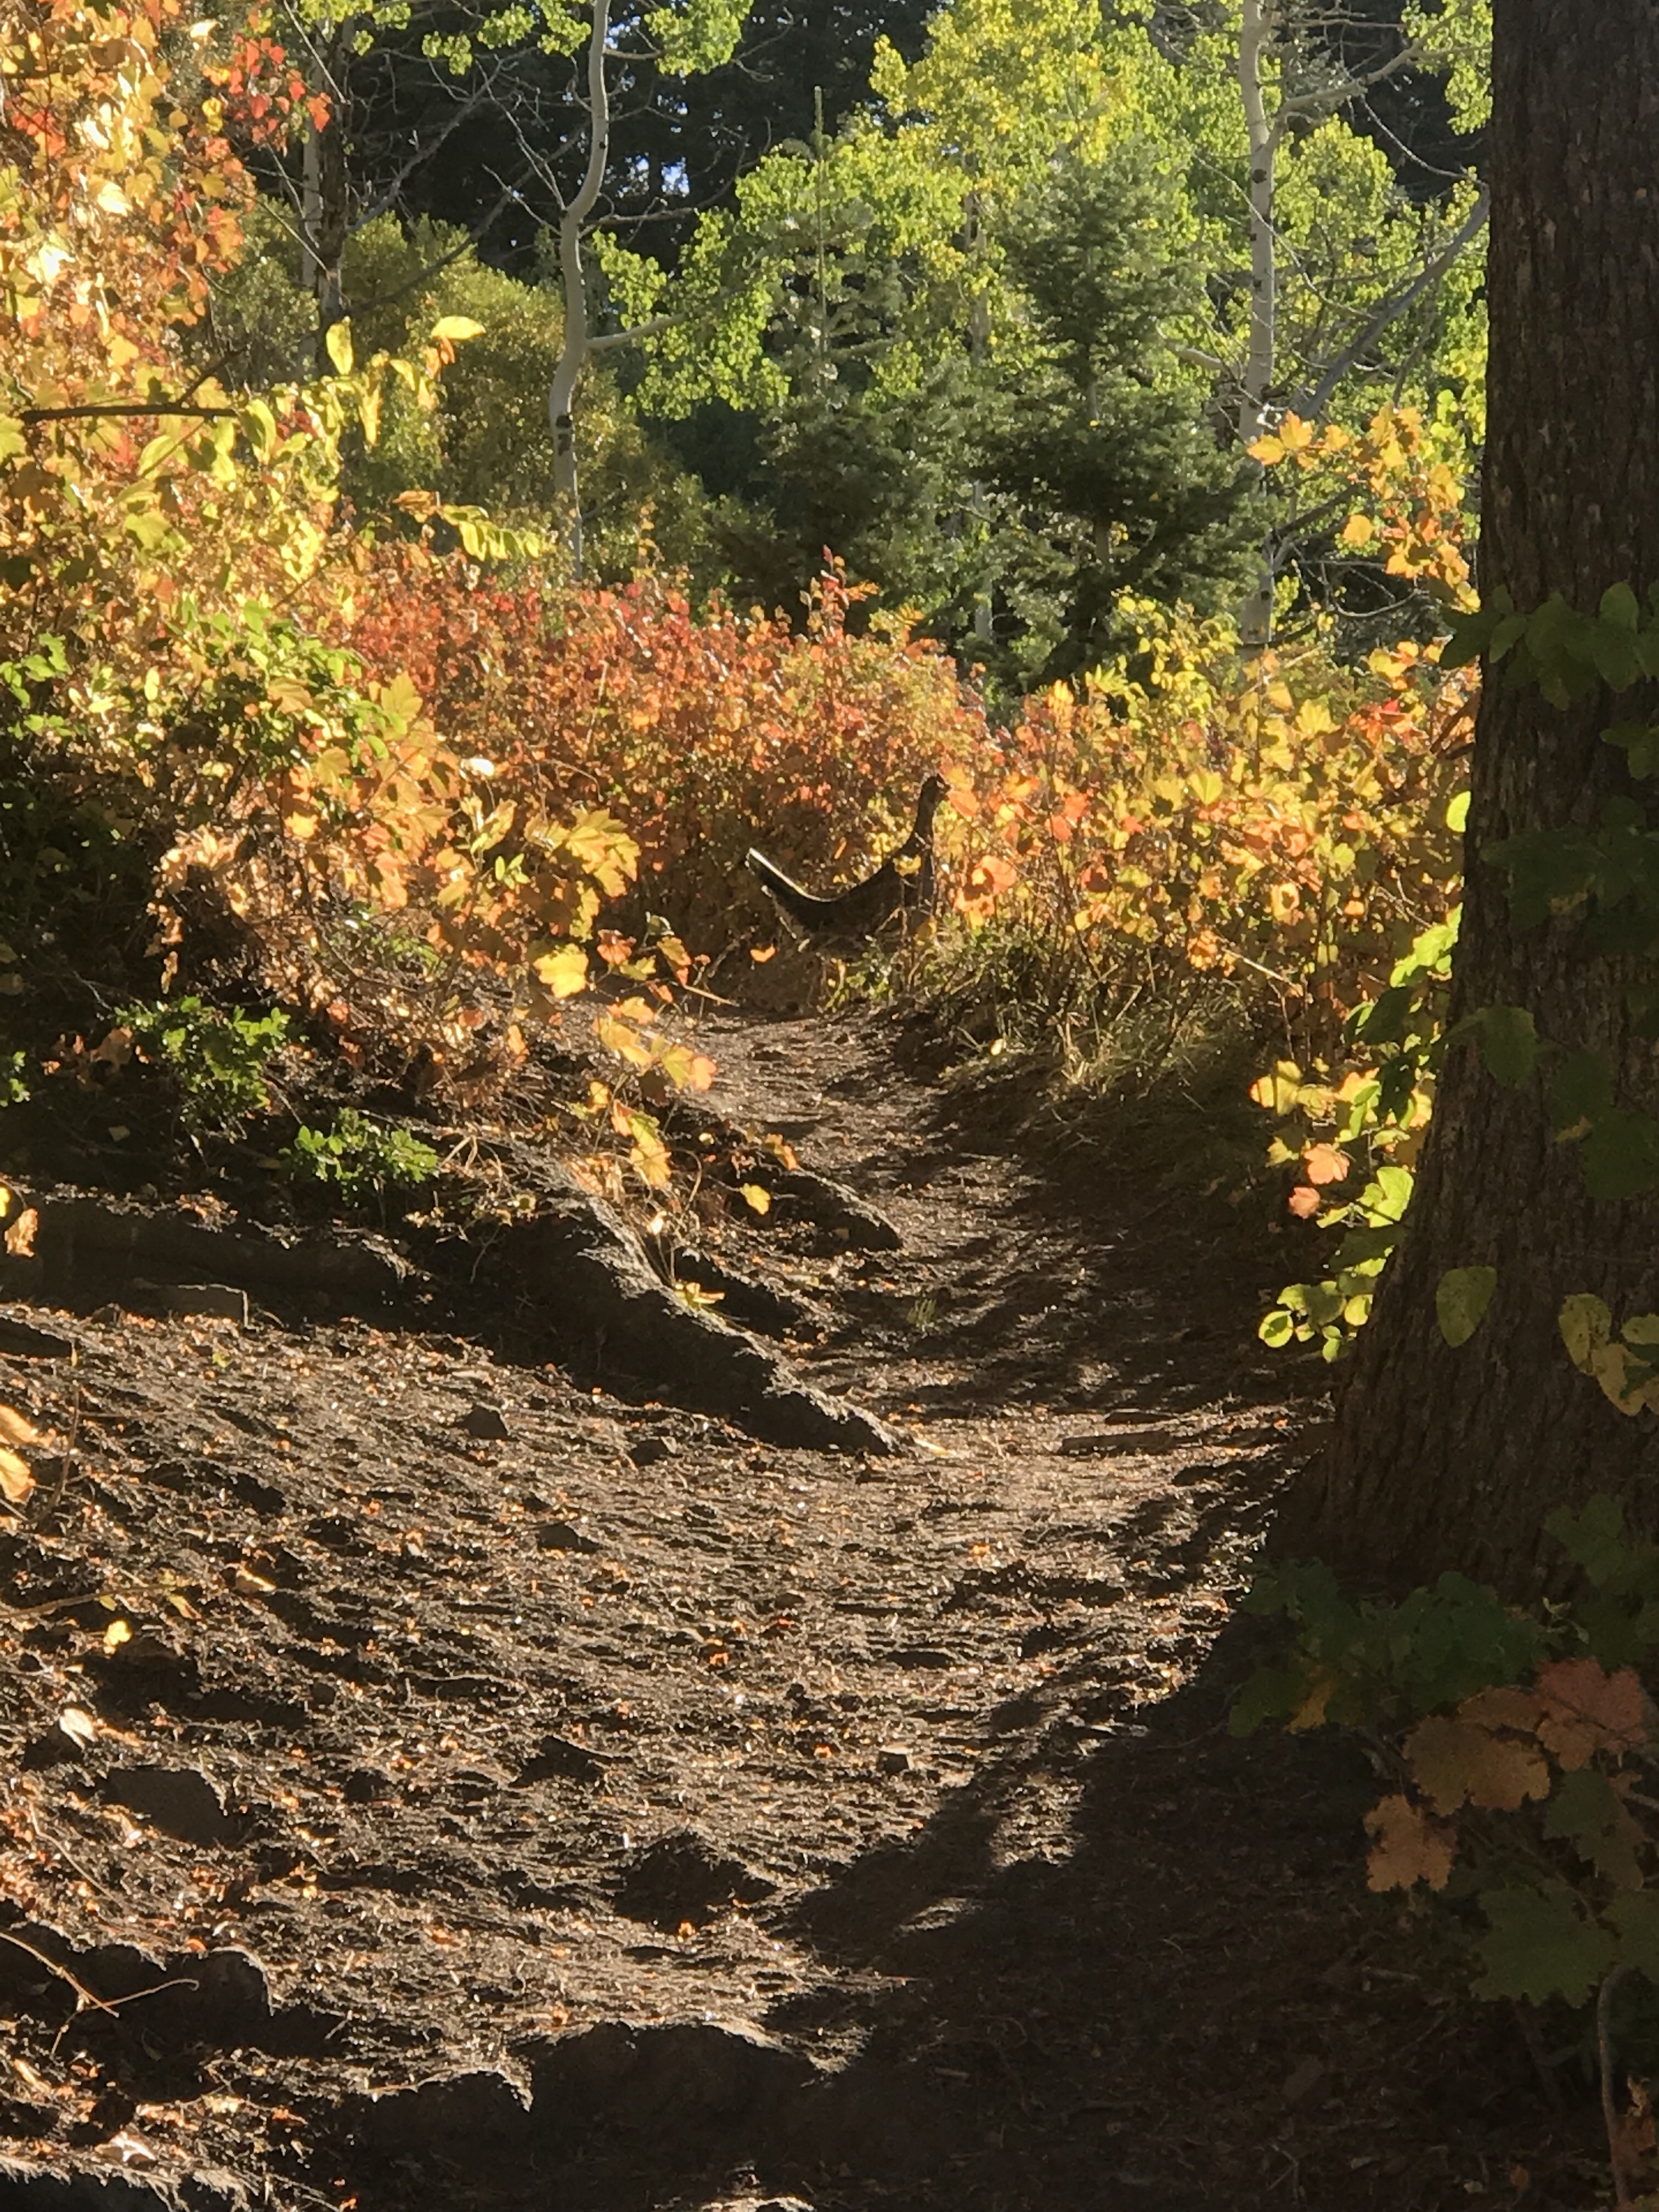
The next morning, we woke up early and made our way deeper into the park. Starting from Hosmer Grove added several miles and about 2000 feet of elevation gain from the more traditional route. However, the trail was pleasant and easy to follow and there were tons of birds and awesome views to keep us content. We continued up until the trail leveled out and gave amazing views of the clouds coming off the ocean. From here, we dropped into the crater, which was definitely a highlight of the hike.

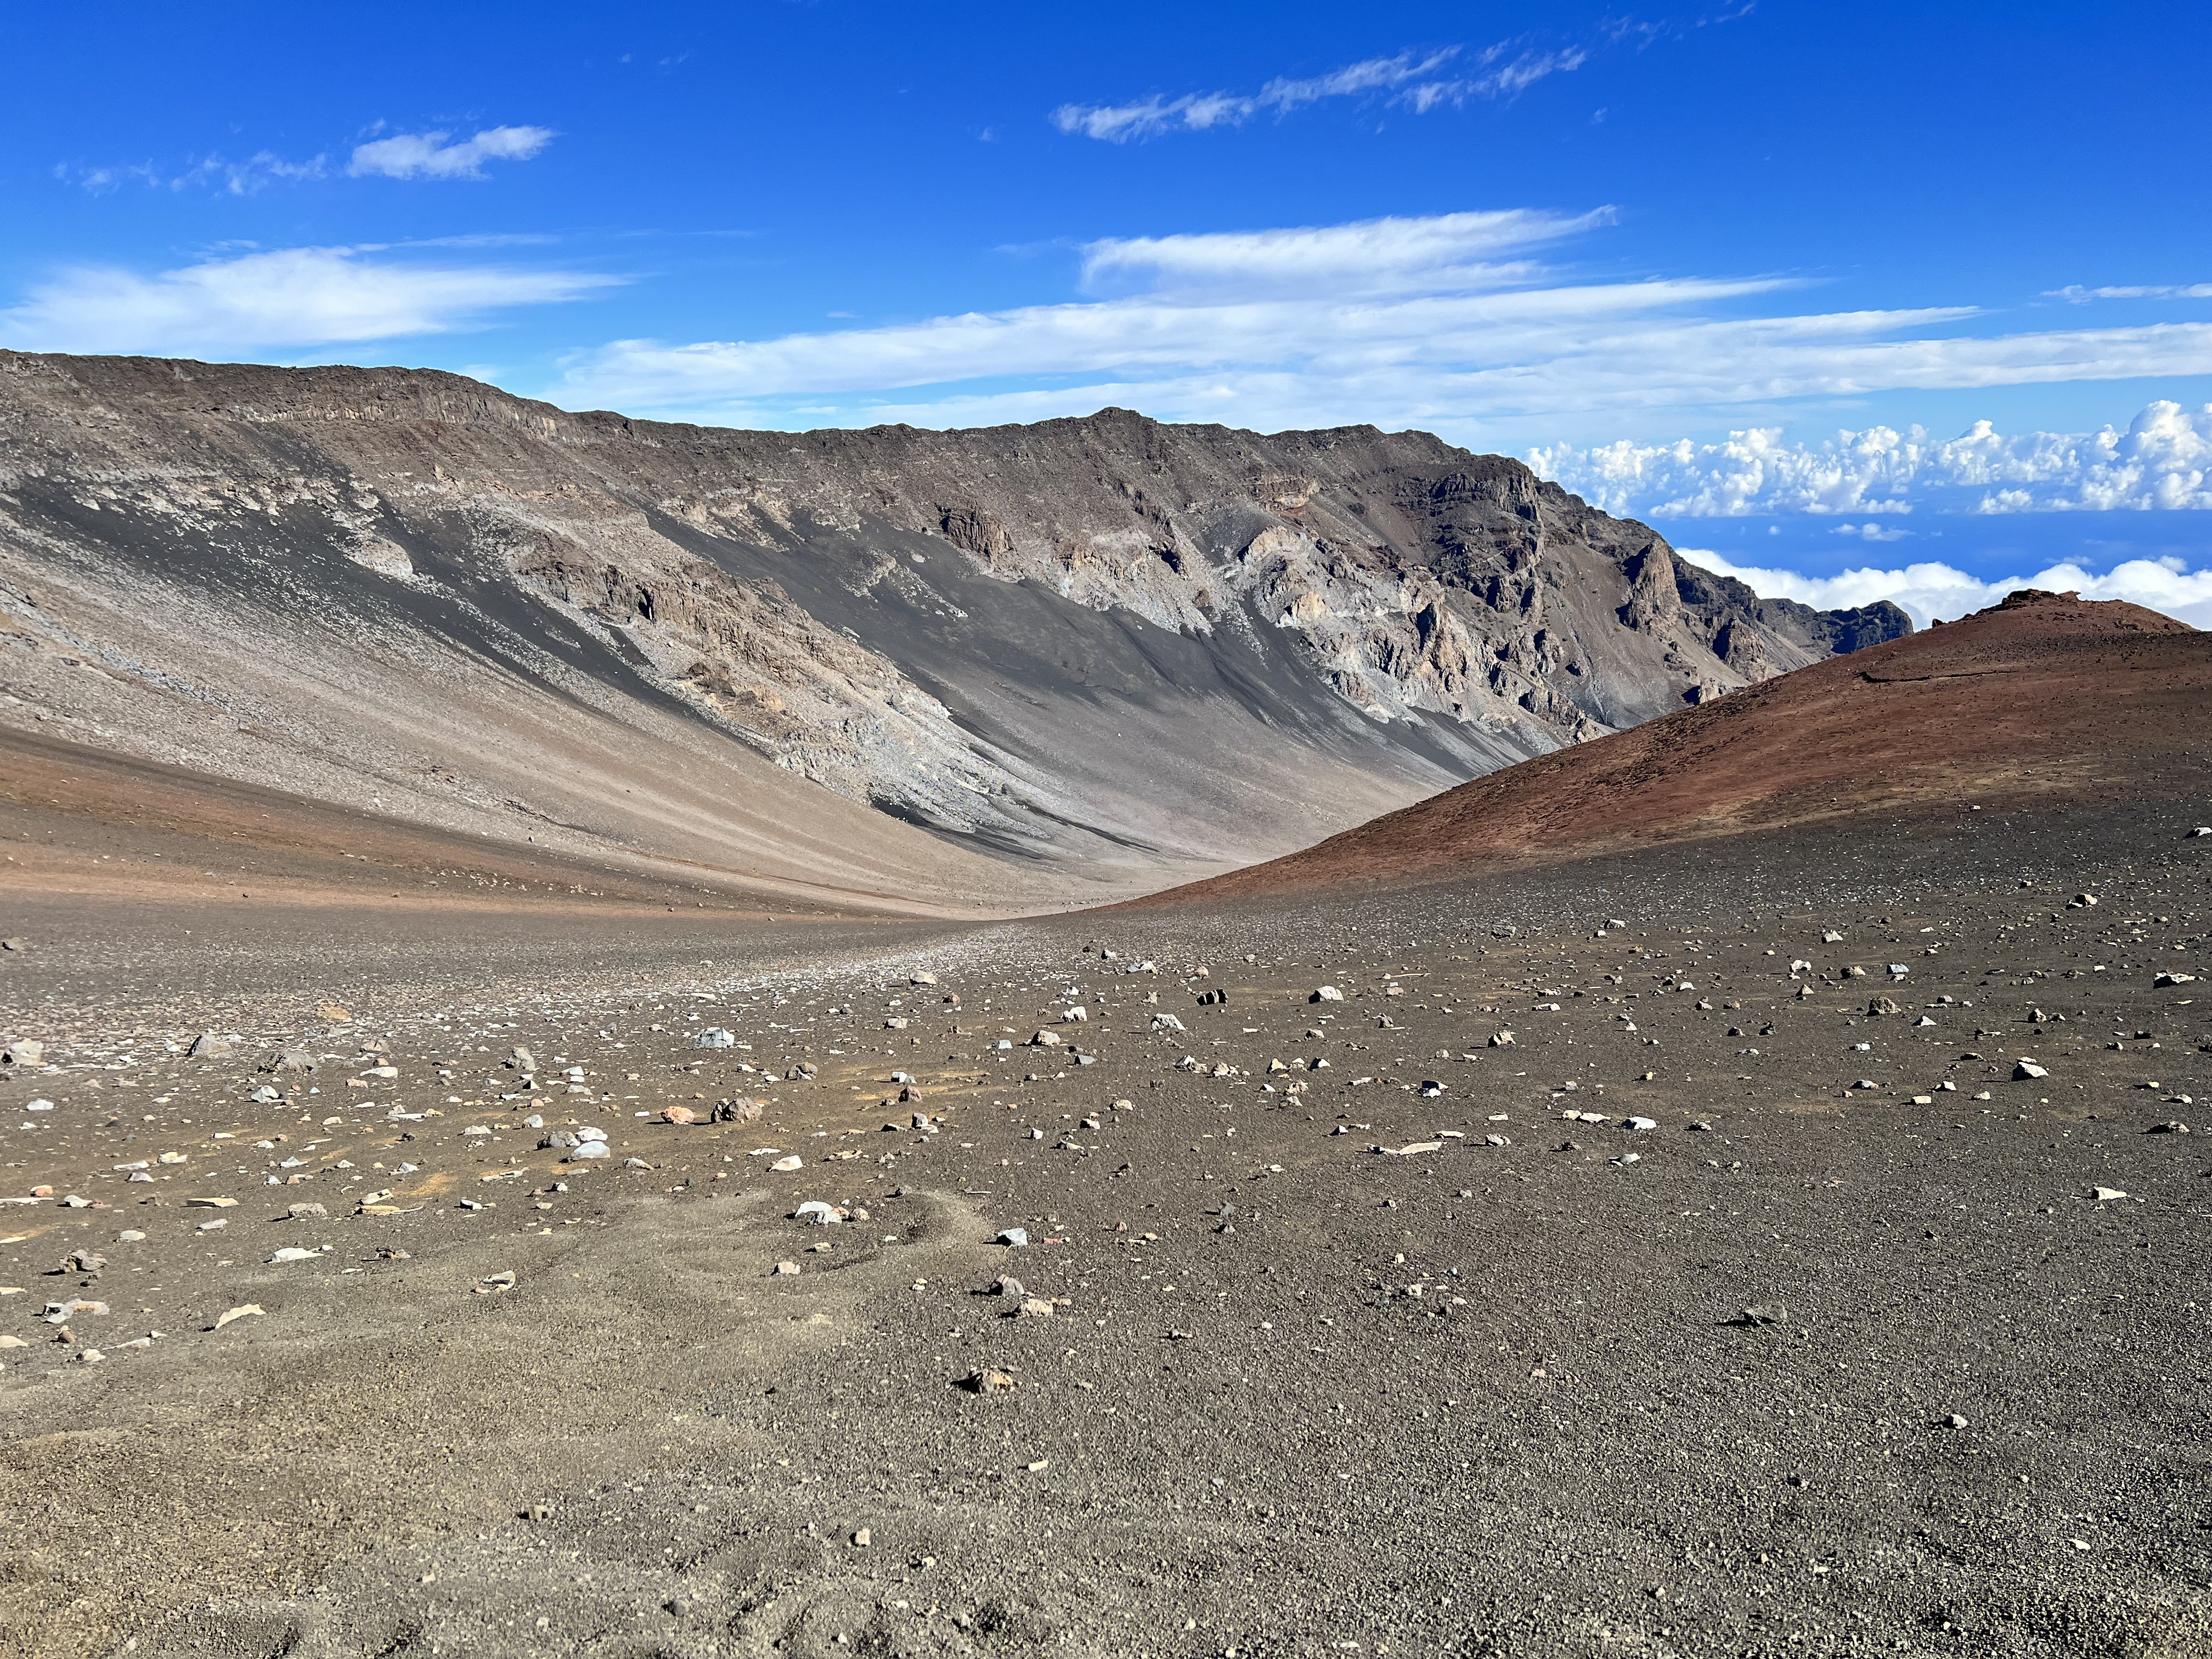
Walking across the crater was like entering into another world. There was very little vegetation and it was clear that the volcano had been active relatively recently (the last eruption was likely about 500 years ago). Hiking across the crater, we passed one of the coveted cabins, Holua, and saw some crazy cinder cones and lava fields.


Eventually, we could see a set of very vegetated cliffs in the distance. This was the other side of the crater and where we were camping for the next two nights. The views were incredible and looked like they were straight out of Jurassic Park. This campground, paliku, has the distinction of being the site of the reintroduction of the endangered Hawaiian goose, the nene. Upon our arrival at the campsite, we did not find the birds to be very friendly and were often chased off from our water source by some rather aggressive nenes.


That night, we set up camp, made some friends in the Paliku cabin (we were in tent sites) and slept at one of the most beautiful campgrounds I have ever seen.

Day 2 – Hiking Around Paliku – 11 miles
For the next day, we hiked around the paliku area and made it down towards Kaupo. The trail to Kaupo was poorly maintained and often eroded. We only hiked a few miles down and eventually decided to hike back into the crater. We did get to see a lot of really amazing views and had a rather relaxing day.


Day 3 – Paliku to Haleakala Summit – 10 miles
Throughout our time in Hawaii, we had some trouble adjusting to the time zone. Because of this, we were often waking up at around 4 am (Utah’s 7 am). We used that to our advantage on our day out and started our hike before sunrise. The days in Hawaii got rather hot and we knew that we had a significant climb out of the crater and to the Haleakala summit. We wanted to get an early start to beat the heat and also to insure that we were able to hitchhike back to town.

The morning in Paliku was very cold and I was often questioning why I had traveled to Hawaii just to be colder than I would have been in Utah. However, once the sun was up, we were plenty warm and shedding layers. Much like the hike into the crater, the hike out was absolutely amazing. The sands were crazy shades of red and black and the views of the mountain were absolutely incredible.

Once we reached the summit, we got a ride all the way back to Kahului and to our hostel. Overall, it was an amazing experience and a fantastic backpacking trip. I would highly suggest taking some time in Hawaii to check out this amazing place!
If you are going to embark on this awesome backpacking trip, make sure that you obtain permits early (described below). Also, bring warm weather clothing and be prepared for cold and wet nights in the backcountry. Another logistical issue we encountered was obtaining camp fuel. There are very few places on Maui that sell fuel for backpacking stoves. I would recommend planning to eat food that does not need to be cooked. Otherwise, call ahead to make sure that the store has fuel in stock.
The Permits
We obtained our wilderness permits for backcountry camping on recreation.gov. Search for “Haleakala National Park (Wilderness Tent Permits)”. The permits are released for the 6 months following (so March 15 releases to September 15). Be sure to obtain permits early so that you can ensure that you can get the days that you need for your trip. There is also the option of getting the cabin, however, it is very competitive and limited to only one group per night (up to 12 people).
Trip Costs
We had all of our own backpacking gear and even brought some of our backpacking food from home (Frank often makes backpacking meals or we just use Mountain House meals). Here is the breakdown of our costs for our backpacking trip:
Transportation using Maui’s buses: $4 per person per day
Campground at Hosmer Grove: $5 per night
Permits for camping at Paliku: $8 total for up to 7 nights
Backpacking meals: approximately $30 between two mountain house meals and other food
Hostel in Kahului: $119 per night
Total: $170
Trail Map